The Copy Filenames with Options command brings up the Copy Filenames Options dialog. This dialog can also be opened by holding the CTRL key while selecting the Copy Filenames command.
This command lets you select other file attributes than just the filename to copy from the select files and folders. It also lets you add other text to format the text copied.
The Copy Filenames Options dialog has three tabs, that lets you select the formatting you require in three ways.
In addition, the text that will be copied to the clipboard when you press OK is shown.
The sort order of the selected files or folders can be changed using the Sort drop-down menu.
Note: if you choose As selected as the sort order, right click on the top selected file or folder in File Explorer when you bring up the context menu otherwise the order of the files will not be the same as in File Explorer.
Presets
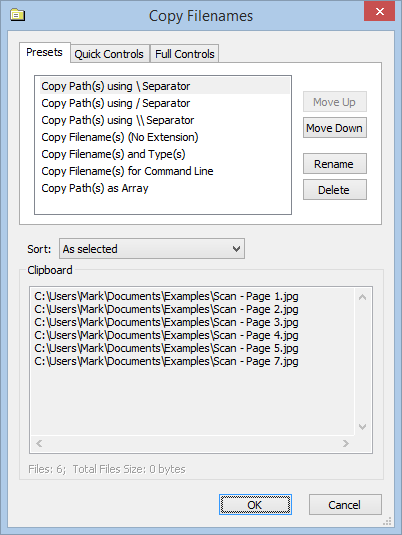
The first tab provides a list of presets that let you quickly select a format.

Click on a preset to select it, and you will see the text shown in the Clipboard box update.
The presets can be reordered, renamed or deleted using the buttons to the right of the presets list.
You can add your own presets from the Full Controls tab (see below).
Quick Controls
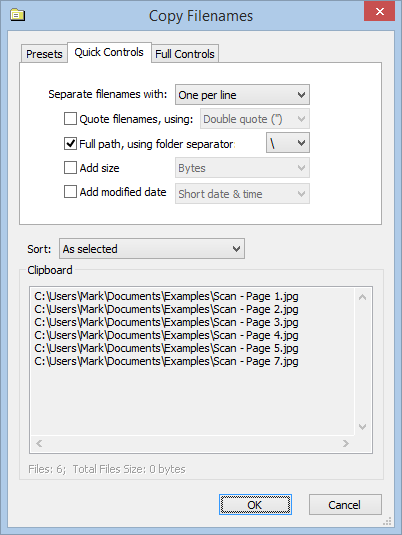
The Quick Controls tab provides easy to use controls that let you select the most common formats, and add the size or modified date file attributes.

As you change the controls, you will see the text in the Clipboard box update.
Full Controls
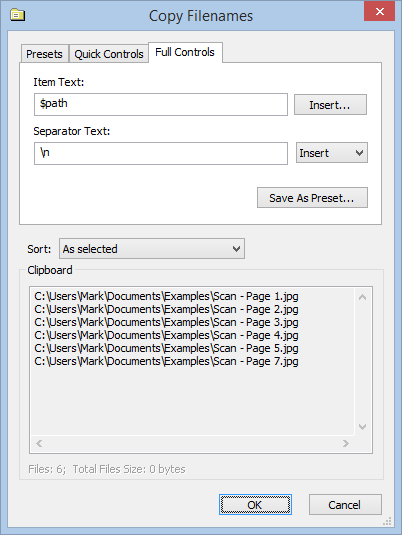
The Full Controls tab provides complete control over the formatting of the text.

The formatting is divided into two parts. The Item Text controls how the text generated from one item is created. The Separator Text is added between the items.
There are three types of text that can be used in these boxes:
Variables (Item Text only) |
Variables start with a $, and are replaced with the corresponding file attribute or property for each item. Press the Insert button to bring up a dialog that lets you select which variable you want. More than one variable can be added if required. |
Escaped text |
Escaped text starts with a \, and is used to insert newlines (\n) and tabs (\t). To insert a $ character, escape this with \$. The escape character itself also needs to be escaped (\\). |
Plain text |
Other text will be repeated unchanged for each item. |
Item Text Variables
If you enter the item text manually, you must be careful to enter the item variables correctly. Item variables start with a $, which is followed by the variable name which is case sensitive. Some variables can have additional attributes that are separated from the name by a :.
Rather than enter item variables manually, it is much easier to use the Insert File/Folder Attribute dialog. Press the Insert button next to the Item Text box to bring up that dialog. The variables that can be added using that dialog are divided into two types: attributes, which come from the file system and are available for all file types, and properties, which depend on the file type. If a file is not the right type for an item property variable, then that variable will just be blank for that file.
If there is an error with the item text entered, such as a variable name that does not exist, then a warning triangle will be shown next to the item text box. Click on the warning triangle to bring up a message that explains the error.
TIP: A good way to see how to set the item text is to select a preset in the Presets tab, or set the format using the Quick Controls tab, and then switch to the Full Controls tab where you will be able to see the item text for the preset or options selected.
Saving Presets
Press the Save As Preset button to save the current format as a preset. This will bring up a dialog where you can enter the name for the preset.